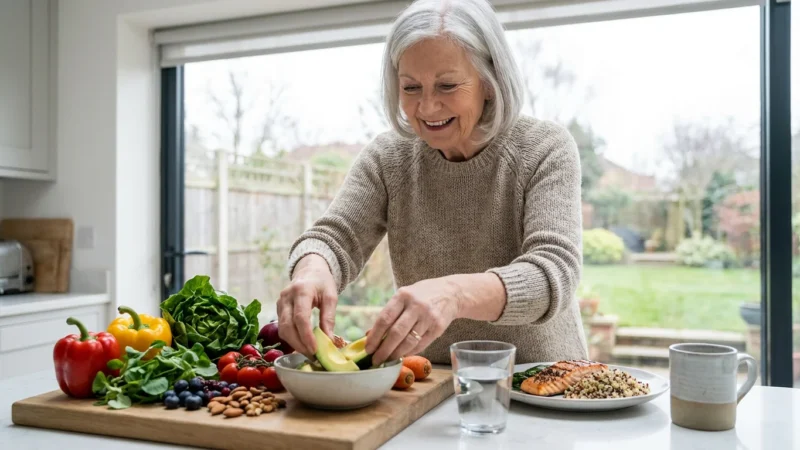
Your kitchen often serves as the heart of your home, a place for nourishing meals, cherished memories, and daily routines. As you age, you want to continue enjoying this vital space with comfort and confidence. Modifying your kitchen can make cooking and daily tasks significantly easier and safer, allowing you to maintain independence for years to come.
This article provides practical, actionable insights on creating a senior-friendly kitchen. You will learn about smart design choices, essential adaptive tools, and simple adjustments that enhance both safety and efficiency. We cover everything from optimizing your layout to making informed appliance decisions, empowering you to create a kitchen that truly works for you.
Prioritizing Kitchen Safety and Accessibility
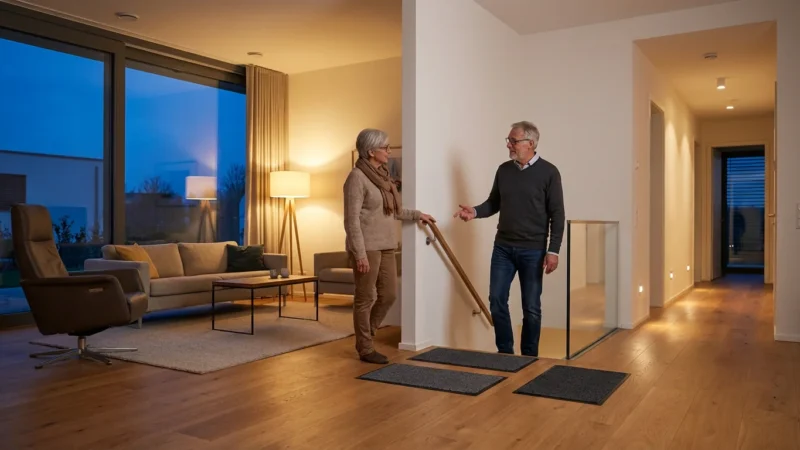
Cooking at home remains a cornerstone of independent living. Your kitchen, however, presents unique safety challenges. Falls, burns, and cuts are common kitchen incidents, particularly for older adults. Addressing these risks proactively helps you continue to enjoy your cooking with peace of mind.
The Centers for Disease Control and Prevention (CDC) emphasizes fall prevention, noting that falls are a leading cause of injury among older adults. Many kitchen-related falls occur due to slippery floors, clutter, or reaching for high shelves. By focusing on accessibility, you minimize these risks and create a more comfortable environment.
A senior-friendly kitchen prioritizes ease of movement, reduced strain, and enhanced protection against common hazards. You integrate solutions that support physical changes, such as reduced grip strength, limited reach, or balance issues. This ensures the kitchen remains a welcoming and functional space for everyone.

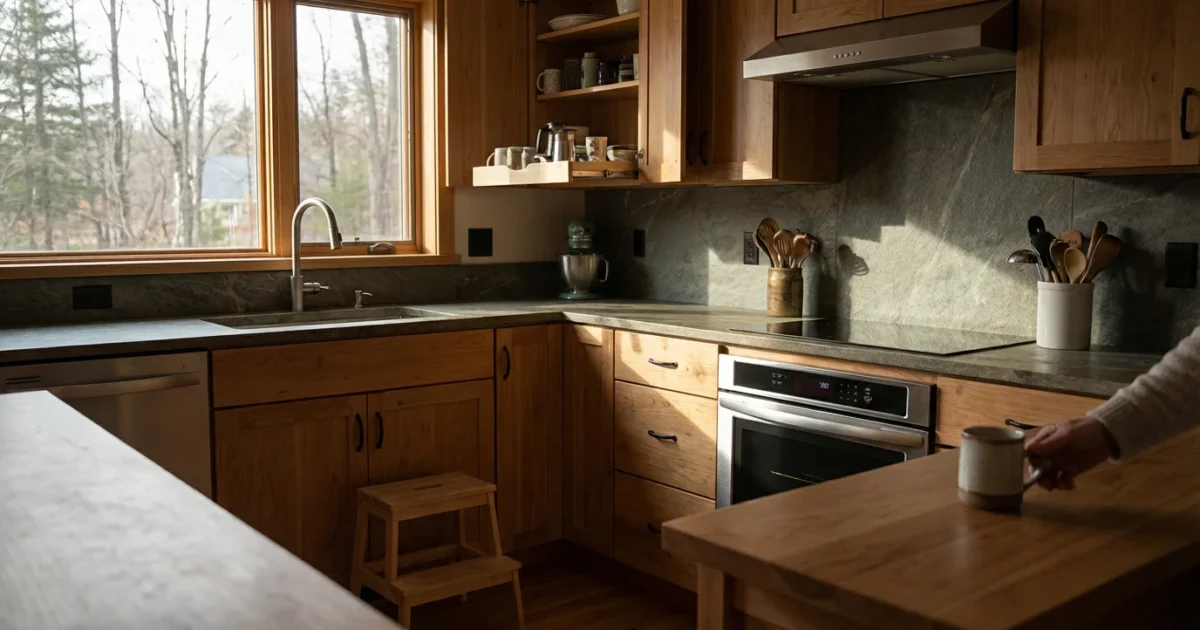
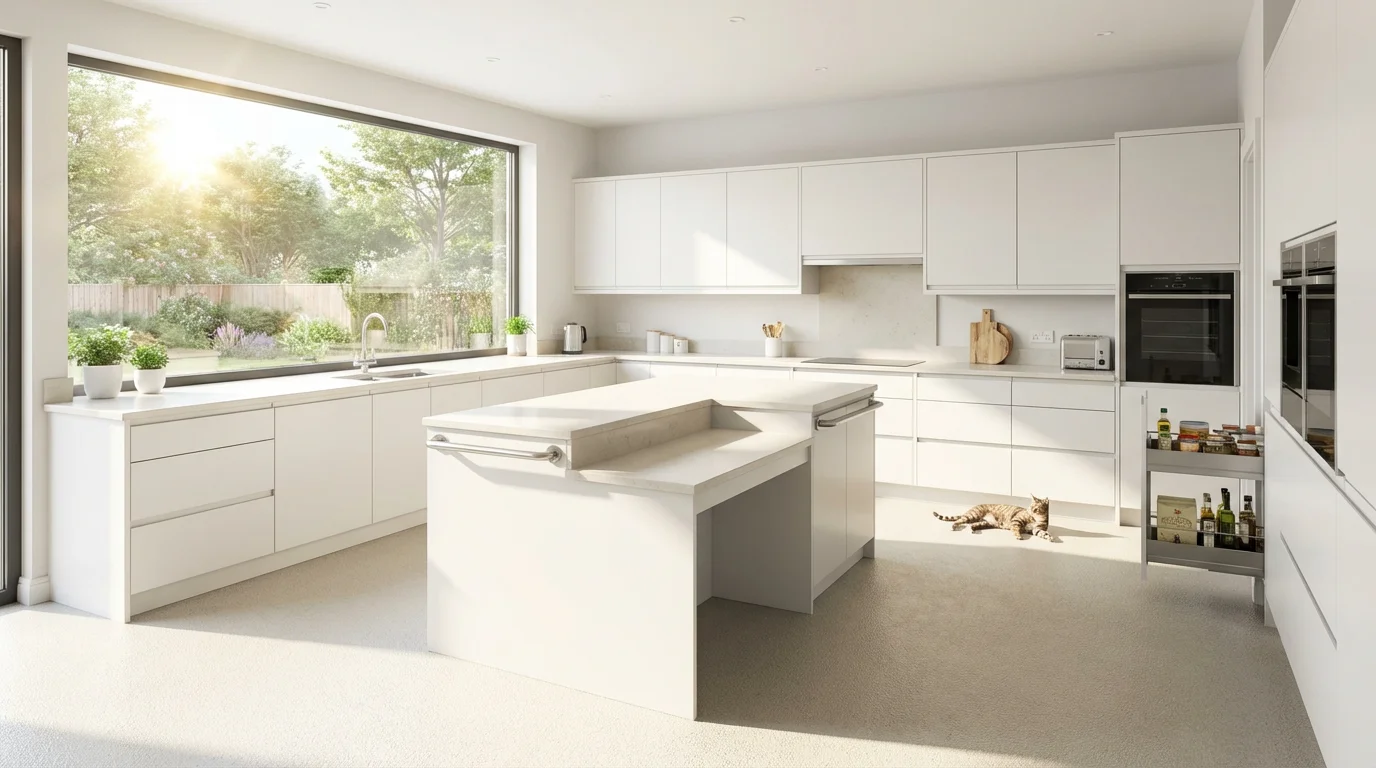
Optimizing Layout and Workflow
The core of a senior-friendly kitchen lies in its layout. A thoughtful design minimizes unnecessary movement, reduces bending and reaching, and creates clear, safe pathways. Consider the classic “kitchen triangle” involving the sink, refrigerator, and stove, and adapt it for maximum accessibility.
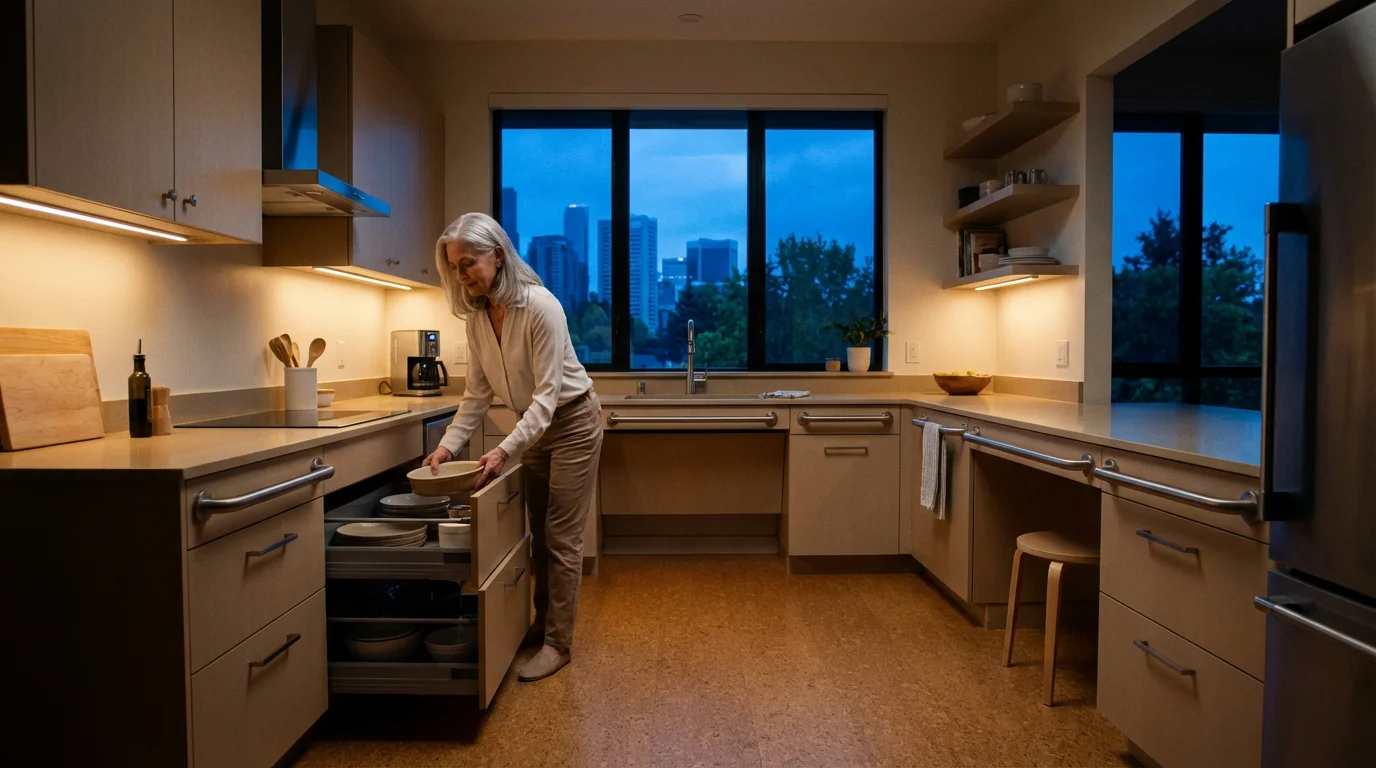
Ensure your pathways maintain a width of at least 36 inches, ideally 42 inches, especially if you use a walker or wheelchair. This provides ample space for maneuvering. Remove any obstacles, such as floor mats that bunch up or freestanding carts that block movement.
Counter heights often pose a challenge. Standard counters sit at 36 inches, which can be high for some or difficult to use while seated. Consider incorporating sections of lower countertop, around 30-34 inches high, for tasks like chopping or mixing while seated. Similarly, create knee-space beneath a portion of the counter or sink for comfortable wheelchair access.
AARP’s HomeFit Guide recommends accessible design principles for all areas of the home, including kitchens. Their advice helps you plan modifications that support long-term independence. For instance, open shelving or transparent cabinet doors can make items easier to locate and retrieve without extensive searching.
When planning your kitchen’s layout, think about zones for different activities:
- Food Preparation Zone: Positioned near the sink and a comfortable counter space.
- Cooking Zone: Centered around the stove or cooktop, with clear access to pots and pans.
- Storage Zone: Easily reachable pantry and cabinet space for frequently used items.
- Cleaning Zone: Dishwasher and waste bin located near the sink.
This strategic placement reduces the need to carry heavy or hot items across the kitchen, minimizing accident risks.
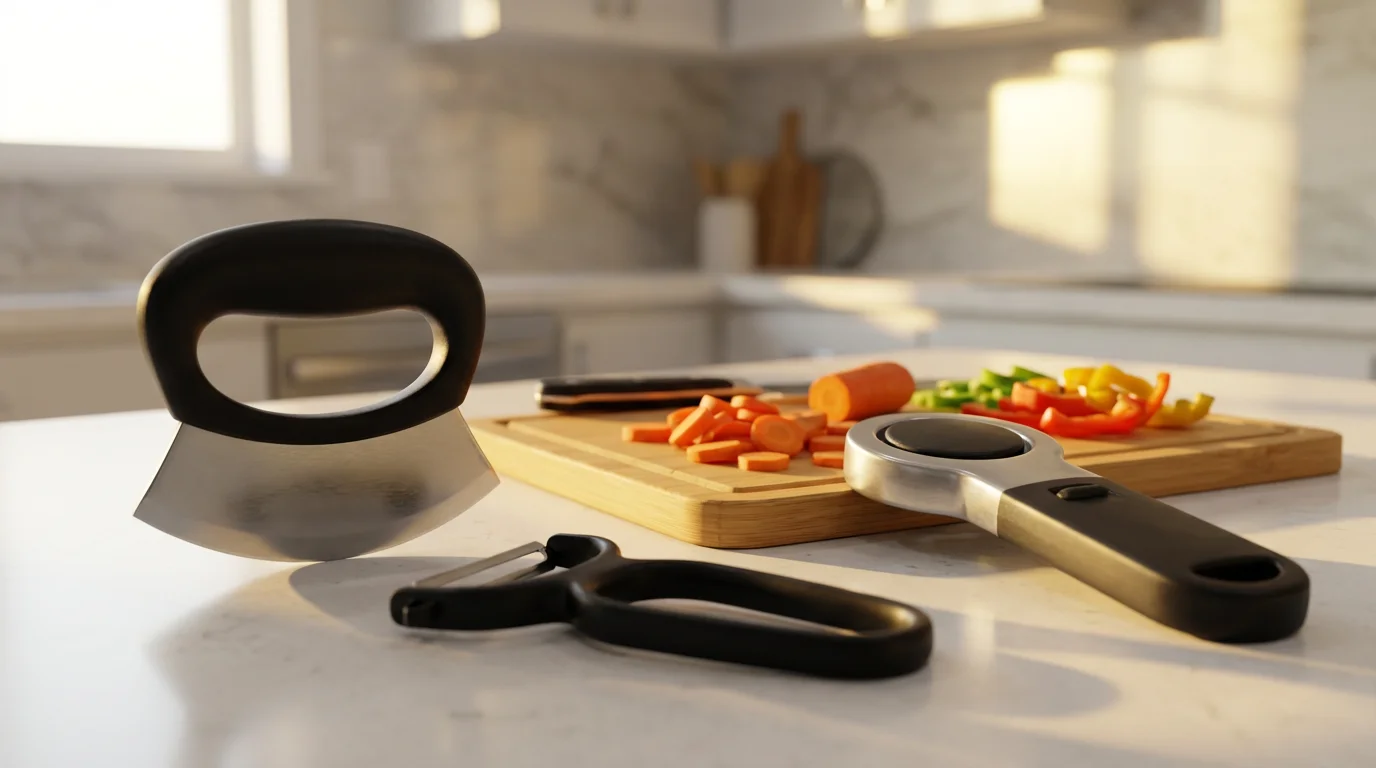
Essential Adaptive Kitchen Tools
What are the best adaptive kitchen tools? Many innovative products simplify cooking and make it safer, especially if you experience reduced grip strength, limited dexterity, or vision changes. Investing in these tools reduces effort and prevents accidents.
Consider adding the following adaptive tools to your kitchen:
- Ergonomic Utensils: Look for knives, can openers, and vegetable peelers with thick, soft-grip handles. These reduce strain and provide a more secure hold.
- One-Touch or Automatic Can Openers: Eliminate the need for twisting or strong grip, making opening cans effortless and safe.
- Non-Slip Cutting Boards: Boards with rubberized feet or a non-slip base prevent movement during chopping, reducing the risk of cuts. Some include spikes to hold food in place, freeing one hand.
- Jar Openers: Wall-mounted or under-cabinet jar openers use leverage to open stubborn lids without significant hand strength.
- Reacher/Grabber Tools: These extend your reach, allowing you to retrieve items from high shelves or the back of cabinets without climbing or excessive stretching.
- Scoop Plates and Bowls: Designed with a raised edge on one side, these help you push food onto a fork or spoon using only one hand, helpful for those with limited mobility.
- Oven Rack Guards: Silicone strips that attach to oven racks prevent accidental burns if you brush against a hot rack while retrieving dishes.
These adaptive kitchen tools empower you to perform tasks independently, turning potential struggles into simple routines. Many of these items are readily available online or at home goods stores, with costs typically ranging from $10 to $50 per item.

Smart Appliance Choices
Upgrading or choosing new appliances offers an excellent opportunity to enhance kitchen safety and ease of use. Focus on features that simplify operation and incorporate safety mechanisms.
- Induction Cooktops: These cooktops heat only the pan, not the surface itself. They cool down quickly once you remove the pan, drastically reducing burn risks. Many also feature automatic shut-off functions if a pan is removed or left unattended. They are energy efficient and precise, though they require induction-compatible cookware.
- Wall Ovens: Installing a wall oven at counter height or slightly above eliminates the need for deep bending to access hot dishes. Side-opening doors offer easier access than traditional pull-down doors.
- Dishwashers with Raised Base: Installing a dishwasher on a raised platform reduces bending. Models with accessible racks and intuitive controls also make loading and unloading easier.
- Refrigerators with French Doors and Bottom Freezers: French door refrigerators offer wider access without a large door swing. Bottom freezers, often with pull-out drawers, minimize bending compared to top-mounted freezers.
- Microwaves: Choose models with large, clearly labeled buttons and simple controls. Consider models that sit on the counter or in a low-mounted cabinet rather than over the range, making them easier to reach.
The cost of new appliances varies widely. A new induction cooktop might range from $1,000 to $2,500, while a wall oven could be $800 to $3,000. Consider these upgrades as investments in long-term safety and independence.
An ounce of prevention is worth a pound of cure.
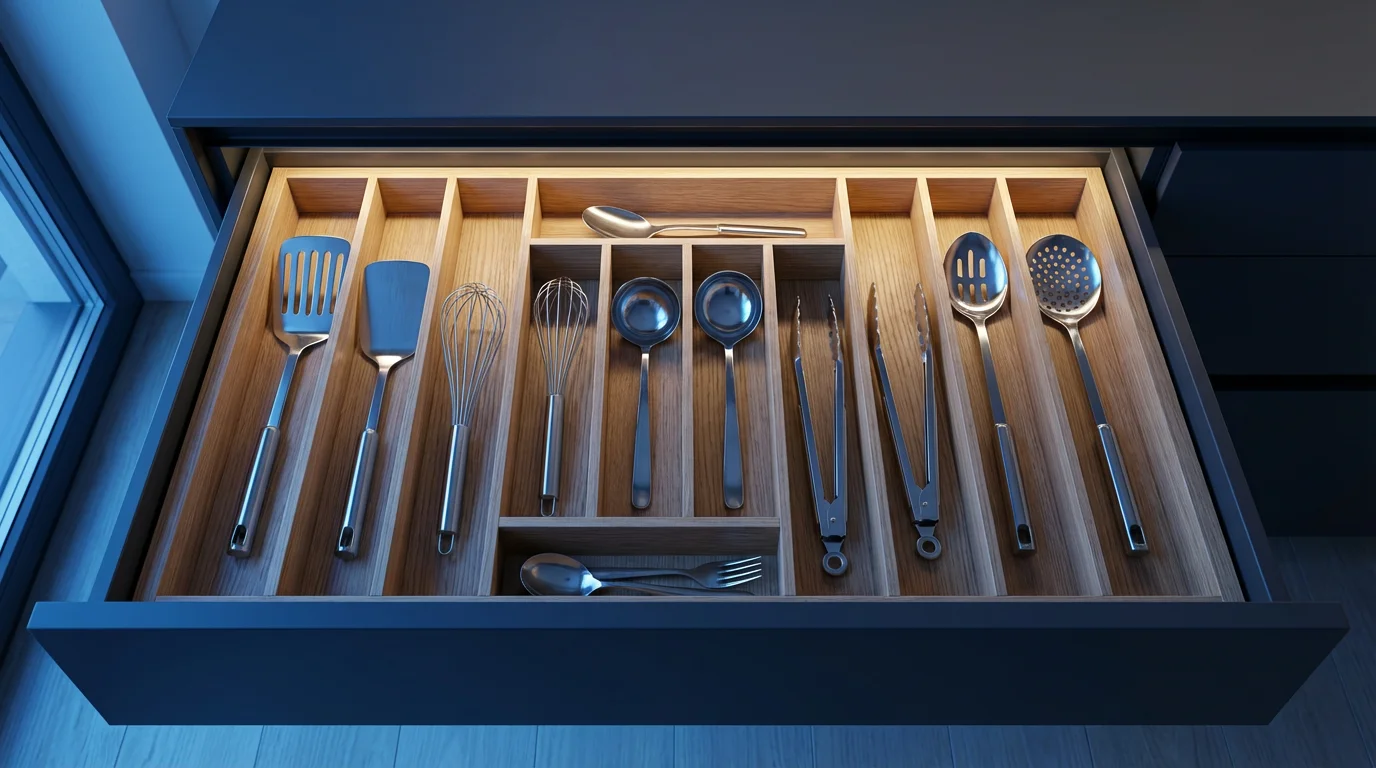
Maximizing Storage and Organization
A well-organized kitchen reduces clutter, improves efficiency, and prevents accidents. Effective storage means having what you need within easy reach, without bending, stretching, or rummaging.
Implement these strategies for superior kitchen organization:
- Declutter Regularly: Remove unused items, expired foods, and duplicate tools. Less clutter means more space and fewer obstacles.
- Install Pull-Out Shelves or Drawers: Convert standard base cabinets into pull-out shelves or drawers. These allow you to access items at the back without reaching deep into the cabinet.
- Utilize Lazy Susans: Corner cabinets benefit greatly from rotating lazy Susans, making all contents accessible with a simple spin.
- Store Frequently Used Items Strategically: Keep plates, glasses, and daily cooking tools in cabinets or drawers between hip and shoulder height. Store heavier items in lower cabinets or drawers.
- Use Clear Containers: Transfer pantry staples like pasta, rice, and snacks into clear, airtight containers. You easily see what you have, reducing wasted effort searching.
- Label Everything: Label shelves, containers, and drawers, especially if you have vision challenges or prefer clear organization. Large, clear labels are best.
- Knife Blocks and Magnetic Strips: Store knives safely in a block or on a magnetic strip mounted at an accessible height, preventing accidental cuts from loose knives in drawers.
Implementing these organizational tactics costs minimal to moderate amounts, from $20 for clear containers to $100-$300 per cabinet for pull-out systems, depending on quality and size.
Lighting and Flooring for Enhanced Safety
Proper lighting and safe flooring are crucial for preventing falls and improving visibility in your kitchen. Many falls in the home occur due to poor lighting or slippery surfaces.
Lighting Solutions:
- Ample Overhead Lighting: Ensure your kitchen has bright, even overhead lighting that illuminates the entire space without creating shadows. LED lights offer excellent brightness and energy efficiency.
- Task Lighting: Install under-cabinet lighting directly above your countertops. This brightens your primary work areas, making food preparation safer and easier on your eyes.
- Motion-Sensor Lights: Consider motion-sensor lights in pantries or dark corners. They automatically illuminate areas when you enter, preventing fumbling in the dark.
- Reduce Glare: Choose light fixtures with diffusers to soften illumination and minimize glare, which can be disorienting for some.
Flooring Choices:
- Non-Slip Surfaces: Select flooring materials with a matte finish or textured surface to prevent slipping. Vinyl, linoleum, and certain ceramic tiles with good grip are excellent choices. Avoid highly polished surfaces.
- Even Surfaces: Ensure your flooring is completely even, without raised transitions between different materials. Uneven surfaces are significant tripping hazards.
- Remove Area Rugs: While decorative, small area rugs often curl at the edges and become tripping hazards. If you must use a rug, ensure it has a non-slip backing and is securely fastened to the floor, or opt for wall-to-wall carpeting in non-wet areas.
The cost for lighting upgrades can range from $100 for basic fixtures to over $1,000 for comprehensive, professional installation. New non-slip flooring might cost between $3-$10 per square foot for materials, plus installation fees. According to the CDC Falls Prevention guidelines, addressing these environmental hazards significantly reduces the risk of falls in the home.
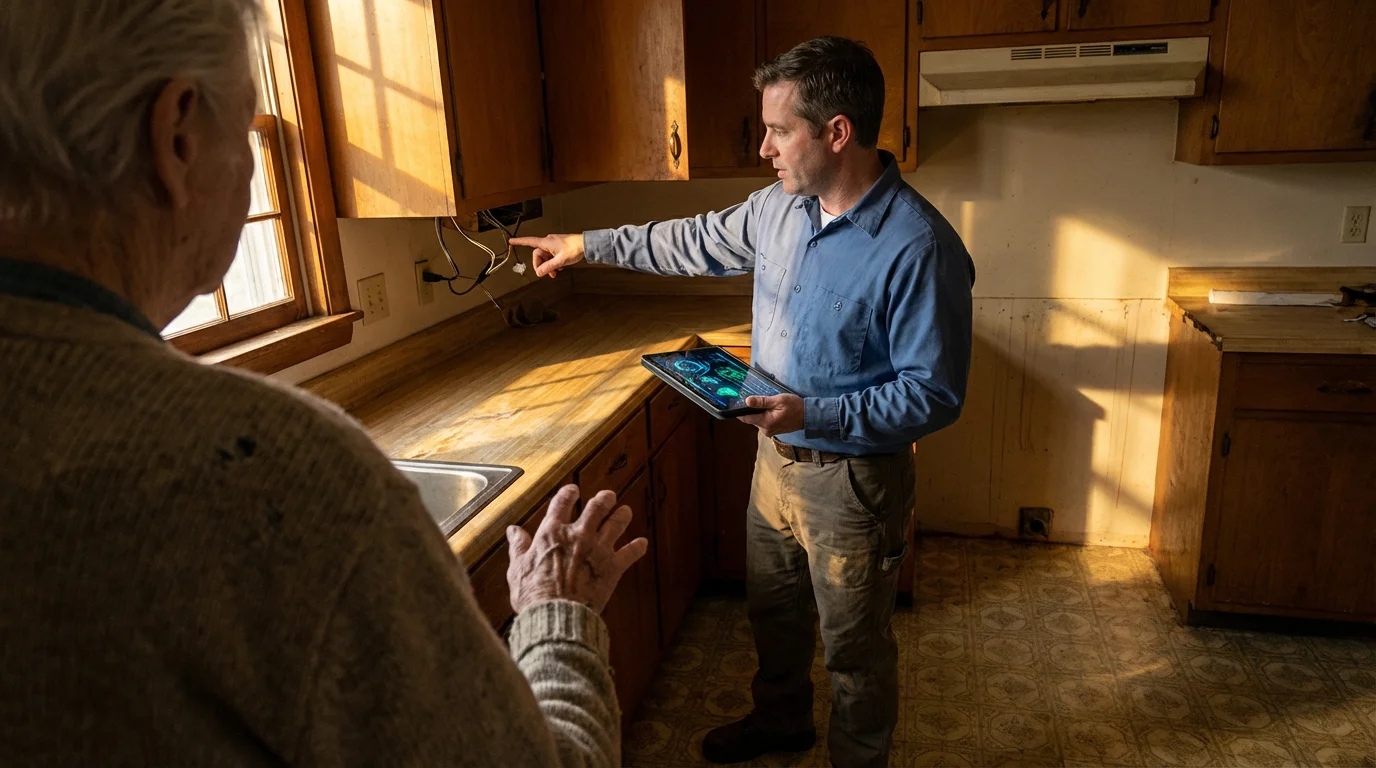
When to Call a Professional
While many kitchen safety enhancements involve simple adjustments or DIY projects, certain modifications require professional expertise. Knowing when to call in an expert ensures safety, quality, and compliance with building codes.
You should consider professional help for:
- Major Layout Changes: Relocating sinks, stoves, or walls involves plumbing, electrical, and possibly structural work. Licensed contractors, plumbers, and electricians are essential for these projects.
- Cabinetry Installation: While you might install some pull-out shelves yourself, complex cabinet modifications, custom built-ins, or full cabinet replacements benefit from experienced carpenters or kitchen remodelers.
- Appliance Installation: Installing new induction cooktops, wall ovens, or dishwashers often requires electrical or plumbing connections. Certified appliance installers or electricians ensure correct and safe setup.
- Flooring Replacement: Removing old flooring and installing new, non-slip options can be labor-intensive and requires precision. Professional flooring installers ensure a level, secure, and safe surface.
- Certified Aging-in-Place Specialists (CAPS): These professionals specialize in modifications that help people live independently in their homes longer. They can provide comprehensive assessments and design plans for a truly senior-friendly kitchen, considering your specific needs.
Costs for professional help vary. A handyman for small installations might charge $50-$100 per hour. Licensed electricians or plumbers typically charge $75-$150 per hour. For larger projects, expect to pay between 10% and 20% of the total project cost for labor, or specific bids for the entire scope of work. Always obtain multiple quotes and check references before hiring.

Budgeting for Kitchen Modifications
Creating a senior-friendly kitchen involves a range of costs, from small, immediate fixes to more substantial renovations. Planning your budget helps you prioritize changes and achieve your goals effectively.
Consider these general cost ranges for common kitchen modifications:
- Low Cost (Under $100):
- Non-slip mats for drawers or counters: $10-$30
- Adaptive kitchen tools (jar openers, ergonomic utensils): $15-$50 per item
- Motion-sensor pantry lights: $20-$40
- Bright LED light bulbs: $5-$15 each
- Moderate Cost ($100-$1,000):
- Under-cabinet lighting installation (DIY kit): $50-$200
- Pull-out shelves for existing cabinets: $100-$300 per cabinet
- New faucet with lever handles: $100-$400 (plus installation)
- Professional decluttering/organization services: $200-$600 for a few sessions
- Higher Cost ($1,000+):
- New accessible flooring: $3-$10 per square foot (material) + $2-$8 per square foot (installation)
- Induction cooktop: $1,000-$2,500 (plus installation)
- Wall oven installation: $800-$3,000 (plus installation)
- Lowering a section of countertop for accessibility: $500-$2,000 (depending on materials and scope)
- Comprehensive kitchen renovation with aging-in-place features: $15,000-$50,000+
Start by identifying your most pressing needs, such as fall prevention or improving access to frequently used items. Even small, incremental changes make a significant difference in your daily comfort and safety. You can spread larger modifications over time or focus on areas that offer the biggest impact for your budget.
Frequently Asked Questions
How much does it cost to make a kitchen senior-friendly?
Costs vary widely based on the extent of modifications. Simple changes like adaptive tools and better lighting might cost under $500. More significant upgrades, such as new flooring, pull-out shelves, or accessible appliances, could range from $1,000 to $5,000. A full renovation incorporating extensive aging-in-place features can exceed $15,000.
What are some simple, immediate changes for kitchen safety?
You can make several immediate improvements. These include decluttering countertops and floors, ensuring all walking paths are clear, improving lighting with brighter bulbs or task lights, adding non-slip mats to drawers, and replacing regular jar openers with adaptive versions. Securing any loose rugs also greatly enhances safety.
Are induction cooktops really safer for seniors?
Yes, induction cooktops offer significant safety advantages. They heat only the cookware itself, not the cooktop surface, which greatly reduces the risk of burns. They also cool down quickly and often feature automatic shut-off functions, making them much safer than traditional electric or gas stoves for preventing accidents.
How can I get help organizing my kitchen if I find it overwhelming?
Professional organizers specialize in creating efficient, accessible spaces. Many offer services tailored for seniors, focusing on decluttering, maximizing storage, and establishing sustainable organizational systems. You can find local professionals through online searches or by asking for recommendations from community centers.
What should I look for in an accessible faucet?
Look for faucets with single-lever handles that are easy to operate with minimal grip strength. Motion-sensor or touchless faucets are also excellent choices, as they eliminate the need to grasp or twist a handle. Consider pull-down or pull-out sprayers for easier dishwashing.
Disclaimer: This article is for informational purposes only. Home modifications, safety equipment, and services mentioned may vary in availability and suitability for individual circumstances. For significant home modifications, consult with qualified professionals. For health-related safety concerns, consult with healthcare providers.


Leave a Reply