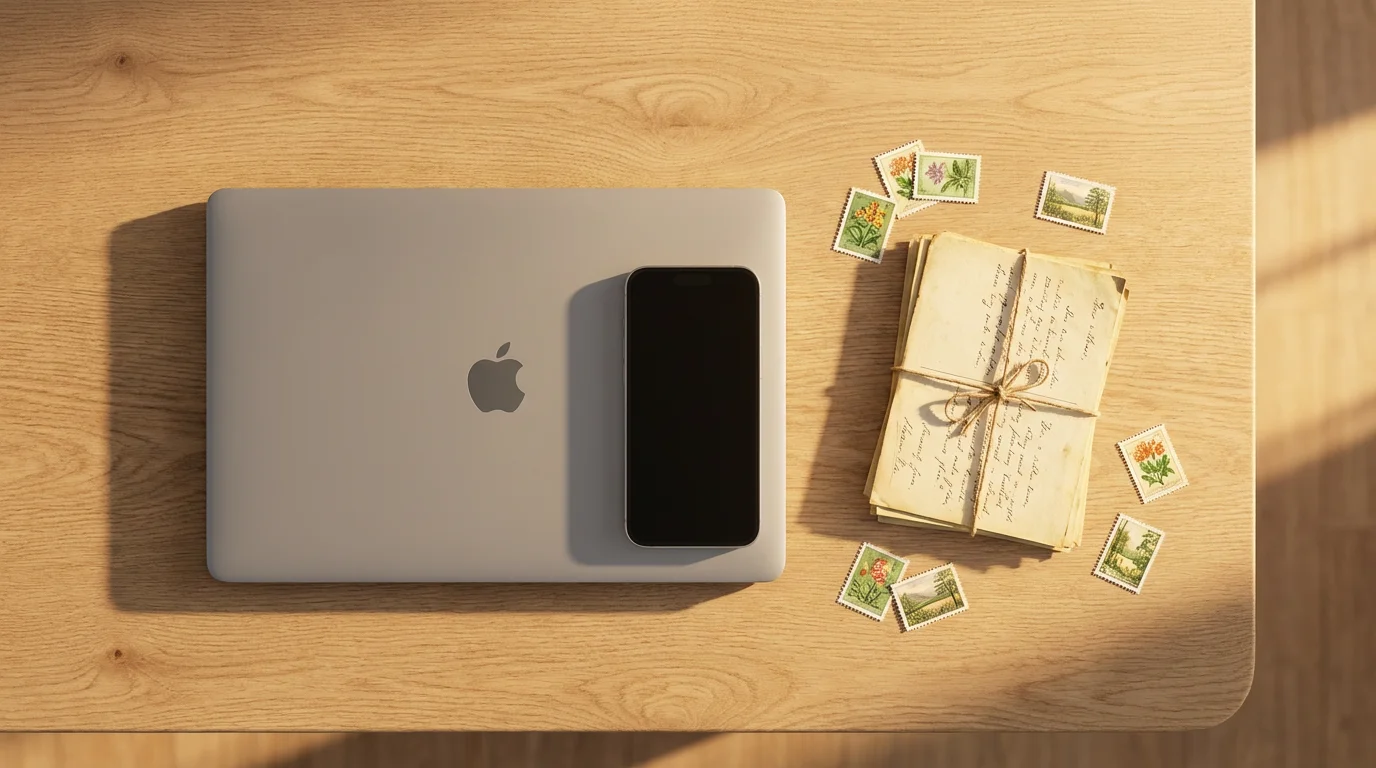
Email stands as one of the most powerful and widely used tools on the internet today. It allows you to send instant messages, share photos, stay connected with family and friends, and manage appointments or important documents. Many people find the idea of email a bit daunting at first, but with clear, step-by-step guidance, you will master it in no time. Think of email as a digital post office, delivering your messages faster than ever before. This guide walks you through everything you need to know, building your confidence with each step.
Learning these skills is also a vital step in protecting yourself from online scams that frequently use deceptive messages to target seniors.
What is Email and Why Use It?
Email, short for electronic mail, provides a way to send and receive messages over the internet. Instead of using paper and stamps, you use a computer, tablet, or smartphone to compose and deliver your messages. These messages arrive almost instantly, no matter how far away the recipient lives.
Email offers tremendous benefits for daily communication. You can exchange news with loved ones, receive newsletters from organizations you care about, get bills and statements, and even make online purchases. It simplifies communication by keeping all your messages organized in one place, creating a digital record of your conversations.
Choosing an Email Provider
Before you send your first email, you need an email address. This requires selecting an email provider, which is a company that hosts your email account. Think of it like choosing a postal service. Many excellent email providers offer free accounts, each with its own advantages.
To ensure your email works reliably, it is helpful to have a stable and secure Wi-Fi connection at home.
Consider these factors when choosing a provider:
- Ease of Use: Look for a simple, clear interface that you find comfortable to navigate.
- Storage Space: Most free providers offer ample space for messages and attachments.
- Spam Filters: Good spam filters help keep unwanted junk mail out of your inbox.
- Security Features: Providers should offer strong security to protect your account from unauthorized access.
- Integration with Other Services: Some providers integrate well with other tools you might use, such as calendars or cloud storage.
Some popular free email providers include:
- Gmail: Offered by Google, it is widely used and integrates well with other Google services.
- Outlook.com: Provided by Microsoft, it offers a clean interface and works seamlessly with Windows devices.
- Yahoo Mail: A long-standing service that provides a good amount of storage.
You can often access official guides for these providers. For instance, GCFGlobal Digital Literacy offers helpful tutorials for various email platforms, providing a good starting point as you explore your options.

Setting Up Your First Email Account
Setting up an email account is a straightforward process, regardless of which provider you choose. The steps are generally quite similar. This example guides you through a typical setup process.
With your account active, you can now use your email address to sign up for various free online educational courses tailored for older adults.
- Open Your Web Browser: On your computer or tablet, open an internet browser like Chrome, Firefox, Safari, or Edge. You will see an address bar at the top of the window.
- Go to the Provider’s Website: Type the website address for your chosen email provider into the address bar. For example, type mail.google.com for Gmail, or outlook.com for Outlook. Then, press the Enter key on your keyboard.
- Look for “Sign Up” or “Create Account”: On the provider’s homepage, locate a button or link that says “Sign Up,” “Create Account,” or “Get Started.” It usually stands out. Click on it.
- Provide Your Information: The website will ask for some personal details. You typically need to provide your first name, last name, and date of birth. You might also need to choose a gender.
- Choose Your Email Address: This is your unique identifier. You will enter a desired username, such as “john.doe55.” The system will check if this address is available. If it is not, the provider might suggest alternatives. Aim for something easy to remember.
- Create a Strong Password: This is a very important step. Your password protects your account. It should be a combination of uppercase and lowercase letters, numbers, and symbols. Write your password down in a safe, private place, like a personal notebook, and do not share it.
- Enter a Recovery Phone Number or Email: This step helps you regain access to your account if you forget your password. The provider sends a verification code to this number or email, proving you are the owner.
- Agree to Terms and Conditions: Review the terms of service and privacy policy. You usually click a checkbox or a button to indicate your agreement.
- Complete the Setup: Once you have filled in all the required information, click a button like “Next,” “Create Account,” or “Done.” Your new email account is now ready to use!

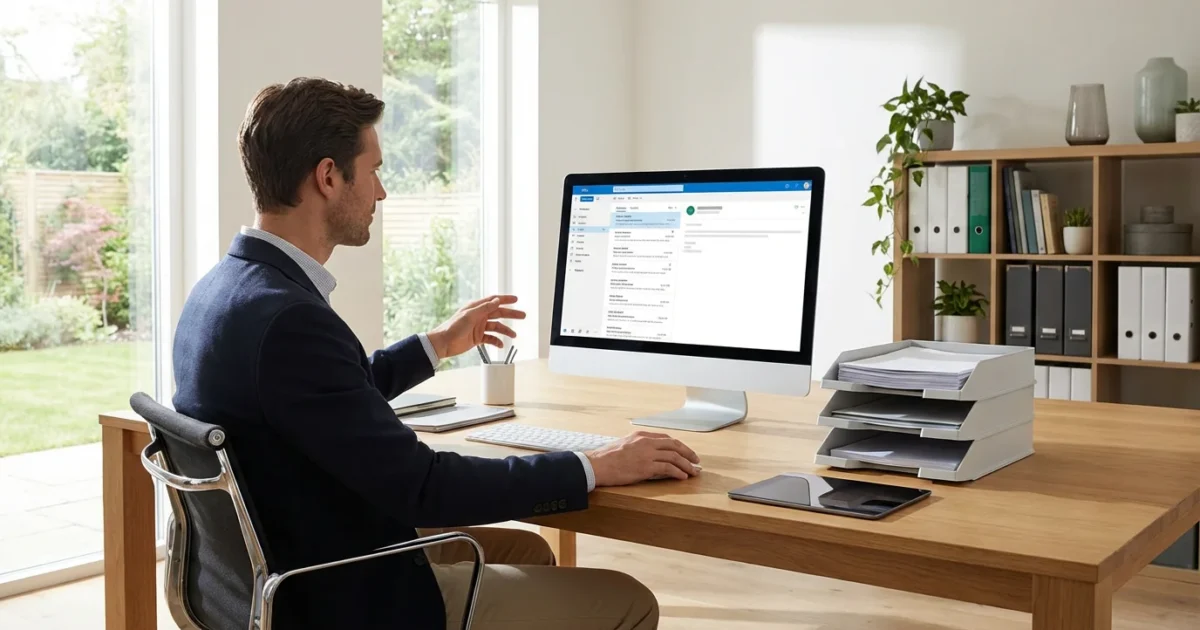
Understanding Your Email Inbox
Once you log into your email account, you will see your inbox, which serves as your main hub for all incoming messages. While interfaces vary slightly between providers, the core components remain consistent. Familiarizing yourself with these parts helps you navigate with confidence.
Maintaining regular contact through email is one of the most effective ways to stay connected and combat loneliness in our digital age.
Here are the common elements you will find:
- Inbox: This is where all new, incoming messages arrive. It is the primary folder you will check.
- Sent: This folder holds copies of all the emails you have sent to others. You can review past communications here.
- Drafts: If you start writing an email but do not finish it or send it, it saves automatically in the Drafts folder. You can return to it later.
- Spam or Junk Mail: Email providers automatically filter out suspicious or unwanted messages and place them here. Check this folder occasionally, just in case a legitimate email mistakenly lands there.
- Trash or Deleted Items: When you delete an email, it moves to this folder. Emails usually stay here for a set period (e.g., 30 days) before being permanently removed. You can recover them if needed.
- Compose/New Message Button: You will find a prominent button, often labeled “Compose,” “New Message,” or featuring a plus sign (+), which you click to start writing a new email.
- Search Bar: This allows you to quickly find specific emails by typing keywords, a sender’s name, or a subject.
When you look at your message list in the Inbox, you will typically see:
- Sender: The name or email address of the person or organization who sent the email.
- Subject: A brief phrase describing the email’s content. This helps you decide if you want to open it immediately.
- Date/Time: When the email arrived.
- Preview Text: A short snippet of the email’s content, allowing you to peek inside without fully opening it.

Sending Your First Email
Sending an email is a fundamental skill that opens up a world of communication. Follow these steps to compose and send your first message. You can practice by sending an email to a friend or family member, or even to yourself.
These basic email skills are essential for modern life, including accessing healthcare via telehealth appointments where your provider may email you secure links.
- Click “Compose” or “New Message”: Locate the button, often in the top-left corner of your email screen, that allows you to start a new email. It might be labeled “Compose,” “New,” or show a paper and pencil icon (✍️). Click it to open a new message window.
- Enter the Recipient’s Address in the “To” Field: In the “To” field, type the full email address of the person you want to send the message to. For example, jane.smith@example.com. Double-check for any typos, as even a small mistake can prevent the email from reaching its destination.
- Understand “Cc” and “Bcc” (Optional):
- Cc (Carbon Copy): Use “Cc” if you want to send a copy of the email to someone else for their information, but they are not the primary recipient. Everyone who receives the email can see who is in the “To” and “Cc” fields.
- Bcc (Blind Carbon Copy): Use “Bcc” if you want to send a copy to someone without the other recipients knowing. Their address remains hidden from everyone else. This is useful when sending an email to a large group of people where you do not want to share everyone’s email address with each other.
You do not need to use “Cc” or “Bcc” for your first email.
- Write a Clear Subject Line: In the “Subject” field, type a short, descriptive phrase that tells the recipient what your email is about. Good subject lines include “Hello from your friend!” or “Quick question about tomorrow.” Avoid leaving the subject line blank.
- Type Your Message in the Body: Click inside the large blank area below the subject line. This is the body of your email. Type your message here, just as you would write a letter.
- Attach Files or Photos (Optional): If you want to include a photo or document, look for an icon that looks like a paperclip (📎). Click this icon. A window will open, allowing you to browse your computer or device to select the file you wish to attach. Click on the file, then click “Open” or “Attach.” The file name will then appear in your email.
- Review Your Email: Before sending, quickly read through your message. Check for any spelling errors or missing information. Ensure you have included the correct recipient.
- Click the “Send” Button: When you are satisfied with your email, locate the “Send” button. It often looks like an airplane (✈️) or an envelope. Click it to send your email. Your message will then appear in your “Sent” folder.
Technology is just a tool. It’s how you use it that matters, and with a little practice, you’ll be communicating with ease.
Receiving and Replying to Emails
Receiving emails is just as easy as sending them. When an email arrives, your email provider usually notifies you, and the message appears in your Inbox. You can then read, respond to, or manage the message.
- Check Your Inbox: Log into your email account and click on the “Inbox” folder. You will see a list of new and unread messages. Unread messages often appear in bold or with a different color.
- Open an Email: To read a message, simply click on its subject line. The email will open, displaying the sender’s name, the subject, and the full message content.
- Understand “Reply,” “Reply All,” and “Forward”: At the top or bottom of an open email, you will typically see buttons for these actions.
- Reply: Click “Reply” to send a response only to the original sender of the email. This is the most common option for one-on-one communication. The “To” field will automatically fill with the sender’s address.
- Reply All: If an email was sent to multiple people, clicking “Reply All” sends your response to everyone who received the original message, including the sender and anyone in the “Cc” field. Be mindful when using “Reply All” to ensure your message is relevant to everyone.
- Forward: Click “Forward” if you want to send the entire email (including its content and any attachments) to someone who was not an original recipient. A new email window will open, and you will need to manually enter the recipient’s email address in the “To” field.
- Compose Your Response: After clicking “Reply,” “Reply All,” or “Forward,” a new message window appears with the original email often quoted below your typing area. Type your response in the main message body.
- Attach Files (Optional): Just like sending a new email, you can attach files or photos to your reply or forwarded message using the paperclip icon (📎).
- Send Your Response: Once you finish your message, click the “Send” button. Your response will appear in your “Sent” folder.

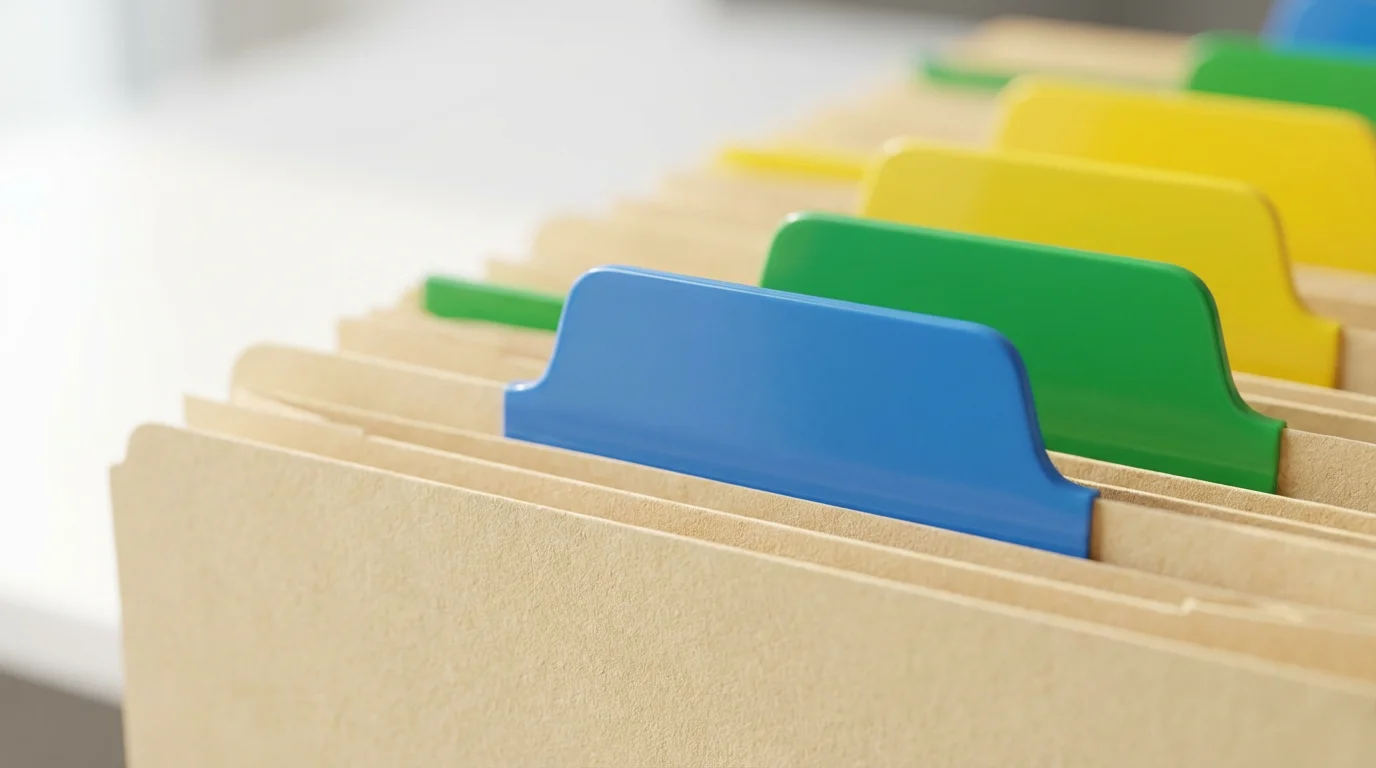
Organizing Your Email Inbox
An organized inbox makes finding important messages much easier and reduces stress. Over time, your inbox can become cluttered, but simple organization techniques keep it manageable. Think of it as filing your digital paperwork.
Here are effective strategies for email organization:
- Folders or Labels: Most email providers allow you to create custom folders (Gmail calls them “Labels”) to categorize your emails. You might create folders for “Family,” “Bills,” “Newsletters,” or “Medical Appointments.”
- Archiving: Archiving an email removes it from your main inbox view but does not delete it. It moves to an “All Mail” or “Archive” folder, allowing you to retrieve it later if needed. This keeps your inbox clean without losing information.
- Deleting: If an email is no longer needed and holds no importance, delete it. This sends it to the “Trash” folder, which typically empties itself after a certain period.
- Using the Search Bar: Even with folders, sometimes you need to find a specific email quickly. The search bar is your best friend. Type in keywords, a sender’s name, or a subject, and your email provider will swiftly find matching messages.
To create a new folder or label:
- Look for “Folders” or “Labels”: On the left side of your email screen, you will often see an option to create new folders or labels. It might be under a menu item like “More” or “Manage Labels.”
- Click “Create New Folder” or “Create New Label”: A pop-up window or a field will appear.
- Name Your Folder/Label: Type a descriptive name for your new folder, such as “Grandchildren Photos” or “Online Shopping Receipts.”
- Save or Create: Click “Save” or “Create” to finalize your new folder. It will now appear in your list of folders.
- Move Emails: To move an email into a folder, open the email, or select it from your inbox. Then, look for a “Move” or “Label” option, often represented by a folder icon. Click it and choose your desired folder.
Managing Attachments and Links Safely
Email allows you to share files and visit websites directly, which is incredibly convenient. However, this also presents potential risks. Understanding how to interact with attachments and links safely protects your personal information and devices.
Attachments are files, such as photos, documents, or videos, sent along with an email. Links are clickable text or images that take you to a website.
Follow these safety tips:
- Verify the Sender: Always confirm you know and trust the sender before opening any attachment or clicking a link. If an email seems unusual, even if it appears to be from someone you know, be cautious. For example, if your bank emails you asking for your password, know that legitimate banks never ask for such information.
- Be Wary of Unexpected Files: If you receive an unexpected attachment, especially from an unknown sender, do not open it. These could contain viruses or malicious software that harms your computer.
- Hover Over Links: Before clicking a link, hover your mouse pointer over it (do not click). In most email programs, the actual website address will appear in a small pop-up box or at the bottom of your browser window. Check if this address looks legitimate. For example, if the text says “Your Bank” but the link shows a strange website, do not click it.
- Look for Suspicious Language: Scammers often use urgent or threatening language to trick you into clicking links or opening attachments. Phrases like “Your account will be closed immediately!” or “Claim your prize now!” should raise red flags.
- Report Suspicious Emails: Most email providers have a “Report Spam” or “Report Phishing” option. Use this to help your provider identify and block harmful emails.
For more detailed information on staying safe online, the FTC Online Security website offers comprehensive guides and consumer alerts on topics like phishing scams and identity theft. Consulting such resources helps you navigate the digital world securely.
Troubleshooting Common Email Problems
Even with the best preparation, you might encounter an issue with your email. Do not worry; most common problems have simple solutions. Remember, if this does not work the first time, that is okay. Patience and trying a few steps usually resolve things.
- “I Can’t Send or Receive Emails.”
- Check Your Internet Connection: Ensure your device (computer, tablet, phone) is connected to the internet. Look for the Wi-Fi symbol (📶) on your device’s screen. If you are not connected, try restarting your Wi-Fi router (the box that provides your wireless internet connection).
- Verify Email Address: Double-check the recipient’s email address for typos. Even a single incorrect letter or number will prevent the email from delivering.
- Check Your “Sent” Folder: If you sent an email, check your “Sent” folder. If it is there, it means your email successfully left your account. The problem might be on the recipient’s end.
- Check Your “Spam” or “Junk” Folder: If you expect an email but do not see it in your Inbox, it might have been mistakenly filtered into your “Spam” or “Junk” folder.
- Restart Your Email Program or Device: Sometimes, simply closing and reopening your email program, or restarting your computer or phone, can resolve temporary glitches.
- “I Forgot My Password.”
- Look for “Forgot Password” Link: On your email provider’s login page, you will almost always find a “Forgot password?” or “Need help signing in?” link. Click it.
- Follow Recovery Steps: The provider will guide you through steps to verify your identity, often by sending a code to your recovery phone number or alternate email address. Follow the instructions carefully to reset your password.
- “Emails Go Directly to My Spam Folder.”
- Mark as “Not Spam”: If a legitimate email lands in your Spam folder, open it and look for an option like “Not Spam,” “Not Junk,” or “Move to Inbox.” Clicking this trains your email provider to recognize future emails from that sender as safe.
- Add Sender to Contacts: Add the sender’s email address to your contacts list. This often signals to your email provider that the sender is trustworthy.
- “My Email is Loading Very Slowly.”
- Check Internet Speed: A slow internet connection (your Wi-Fi) can cause email to load slowly. Try other websites to see if they also load slowly.
- Clear Browser Cache: If using email in a web browser, clearing your browser’s cache (temporary internet files) can sometimes improve performance. You can usually find this option in your browser’s settings or history menu.
- Close Other Tabs/Programs: Too many open browser tabs or applications can slow down your computer and, by extension, your email.

Quick Reference: Essential Email Actions
Here is a concise summary of the most frequent and important email actions, serving as a handy checklist for your daily use.
- To Open Your Email: Go to your email provider’s website (e.g., mail.google.com) and log in.
- To Start a New Email: Click the “Compose” or “New Message” button.
- To Send an Email: Fill in “To,” “Subject,” write your message, and click “Send.”
- To Read an Email: Click on the subject line of the email in your Inbox.
- To Reply to an Email: Click “Reply” to respond to the sender only.
- To Respond to Multiple Recipients: Click “Reply All” if the message needs to go to everyone who received the original.
- To Share an Email with Someone Else: Click “Forward” and enter the new recipient’s address.
- To Organize Emails: Create folders or labels, then move emails into them.
- To Find an Email: Use the search bar in your email program.
Frequently Asked Questions
What is an email address?
An email address is your unique identifier for sending and receiving electronic messages over the internet. It typically looks like username@example.com. The “username” part is what you choose, and “example.com” is the domain name of your email provider, such as gmail.com or outlook.com.
Is email free to use?
Yes, most popular email services like Gmail, Outlook.com, and Yahoo Mail offer free accounts. These free accounts provide ample storage and features for most users. Some businesses or advanced users might pay for premium email services, but for personal use, free options are very robust.
How do I know if someone received my email?
Email delivery is usually instant. If your email appears in your “Sent” folder, it means your email provider successfully sent it. However, this does not guarantee the recipient has opened or read it. You typically do not receive a notification unless there is a delivery failure, in which case you might receive an automated “bounce-back” message.
What is “phishing” and how can I avoid it?
Phishing is a type of online scam where criminals try to trick you into giving them your personal information, like passwords or bank details, by pretending to be a trustworthy entity, such as your bank or a government agency. You can avoid phishing by always verifying the sender, being cautious of unexpected emails, not clicking suspicious links, and never sharing sensitive information via email.
Can I use email on my phone or tablet?
Absolutely! Most smartphones and tablets have built-in email applications, or you can download the app for your specific email provider (e.g., the Gmail app, the Outlook app). These apps make it very convenient to check and send emails on the go.
What is the best email for seniors?
The “best” email for seniors largely depends on individual preference and familiarity. Gmail and Outlook.com are popular choices because they offer clean interfaces, good security, and strong spam filtering. They are also widely supported with many online tutorials. The most important thing is choosing a provider that you find easy to navigate and understand.
Disclaimer: This article is for informational purposes only. Device interfaces and features may vary depending on your device model and software version. Screenshots and steps are based on common versions but your experience may differ slightly. When in doubt, consult your device manufacturer’s official support resources.


Leave a Reply